Once established, garden corners do not always succeed as originally planned, or the function of the area changes over time and a need for reorganization arises.
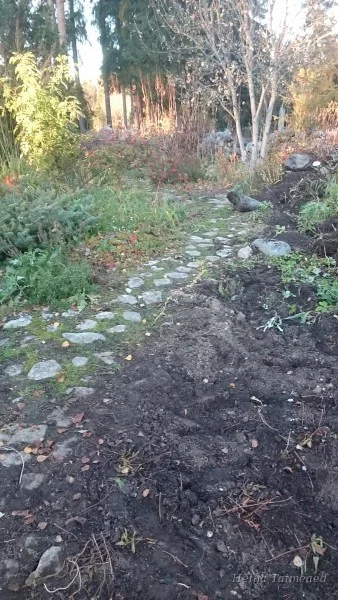
That is why a path leading to the summer kitchen and the surrounding planting area had to be changed. It was built on a fine-grained sand cushion made of natural sea-polished limestone with too rounded edges. Due to the rounded edge and the wrong base, the stones shifted even when walking on the path. However, due to the activity of water rats and moles, the path became completely bumpy and even dangerous.
Construction progress
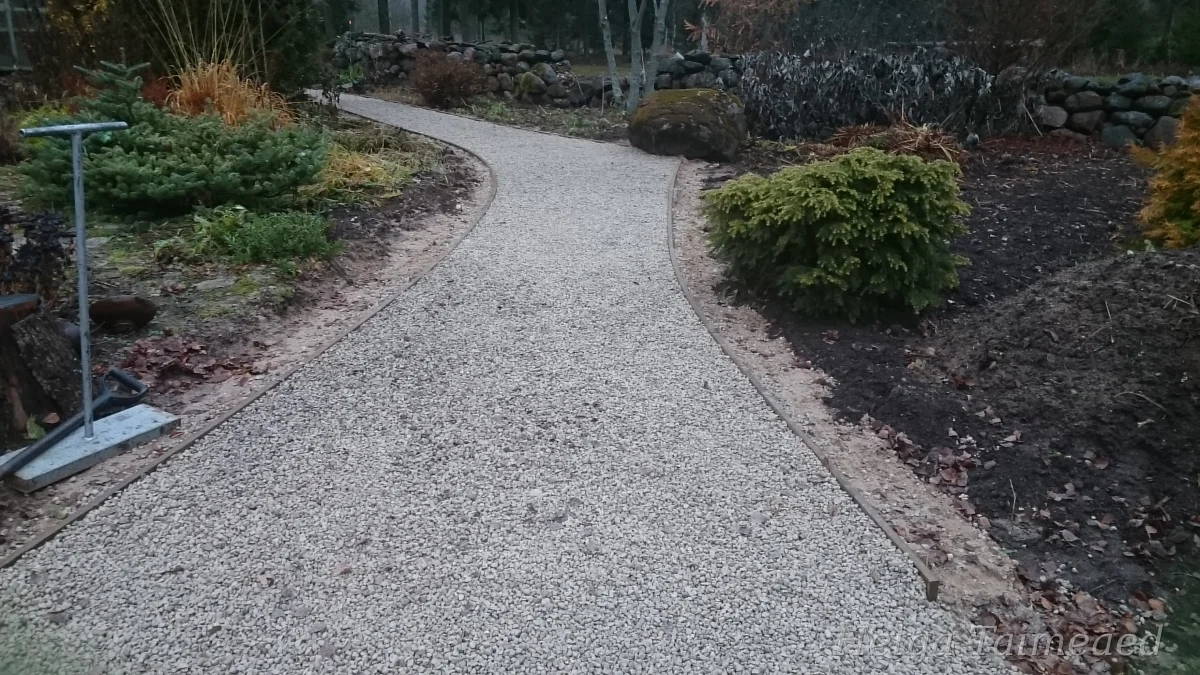
We decided to use the same material as the parking lot adjacent to the path, i.e. crushed granite/gravel screens, for the surface of the new road. We planned the width of the footpath to be 125 cm – this is the minimum width for two people to walk side by side.
The first task was to remove the old coating and haul out the fine-grained sand used as unsuitable filling material. The depth of the recess after leveling the bottom was about 15-20 cm. At this depth, it is convenient to bend the appropriate arches for the edge boards without the soil getting in the way. The edge boards were
Deeply impregnated boards with a thickness of 22 mm. Timber coated with tar oil can also be used. It must be ensured that the tar oil has a tar concentration of at least 50%.
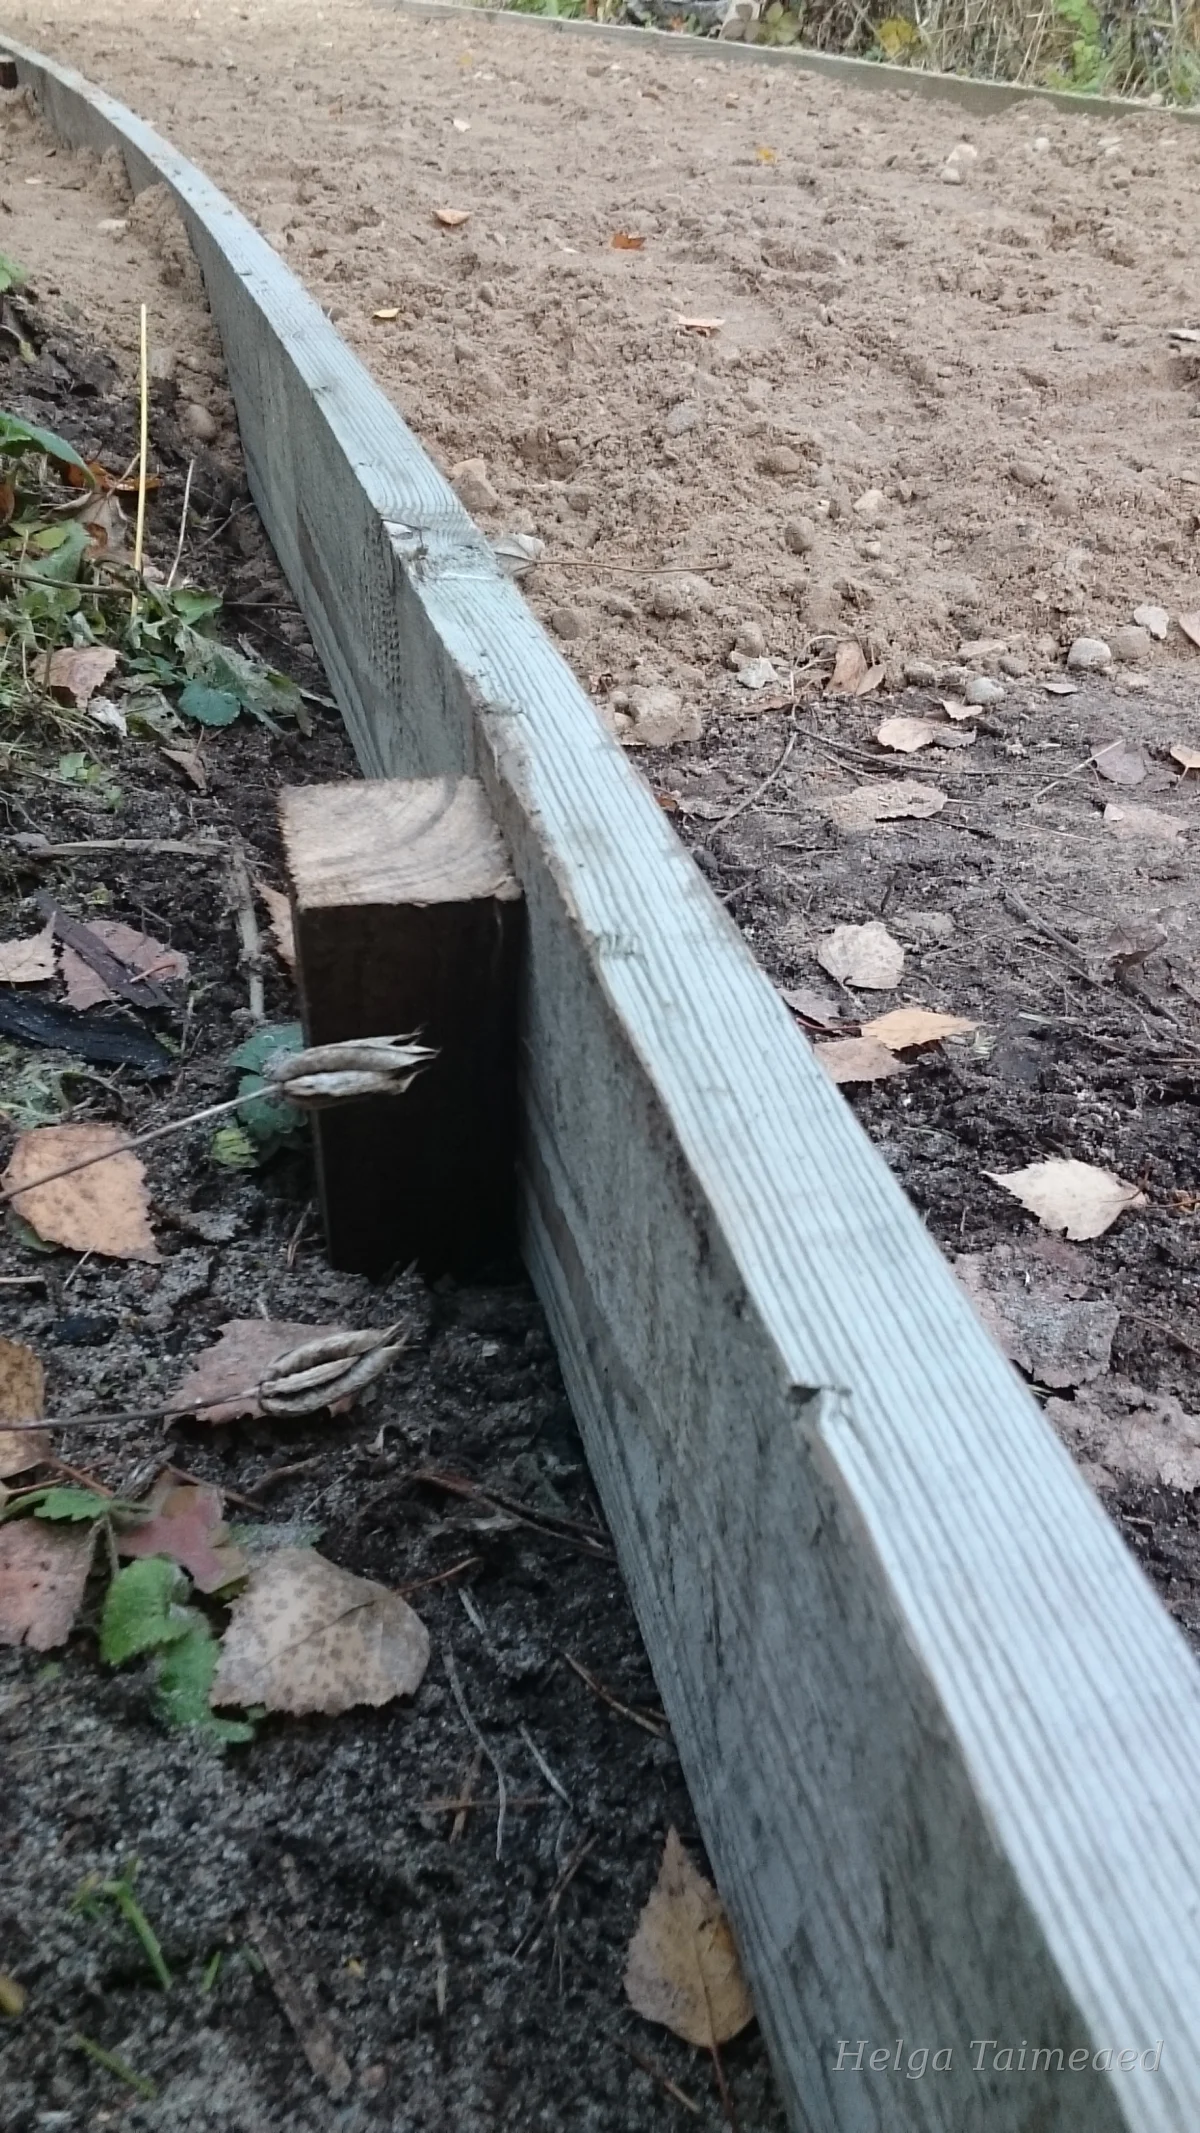
Edge boards make it easy to create smooth arches, and at the same time, the edge keeps the soil in the planting area from mixing with the screenings. The longer the boards, the easier it is to achieve beautiful arches. For steeper arches, slightly thicker boards could be used for strength. When installing the boards, piles cut from a 50 X 50 beam are used, which, depending on the soil, are about 50 cm long. The ends of the piles are sharpened and knocked down depending on which way the arch needs to be bent - either towards the inside or outside of the path. After installing, leveling and fixing the boards, the protruding ends of the piles are cut 1-2 cm below the top edge of the board - this way the posts will later be hidden in the cover. The same applies to the bushes used to connect the edge boards.
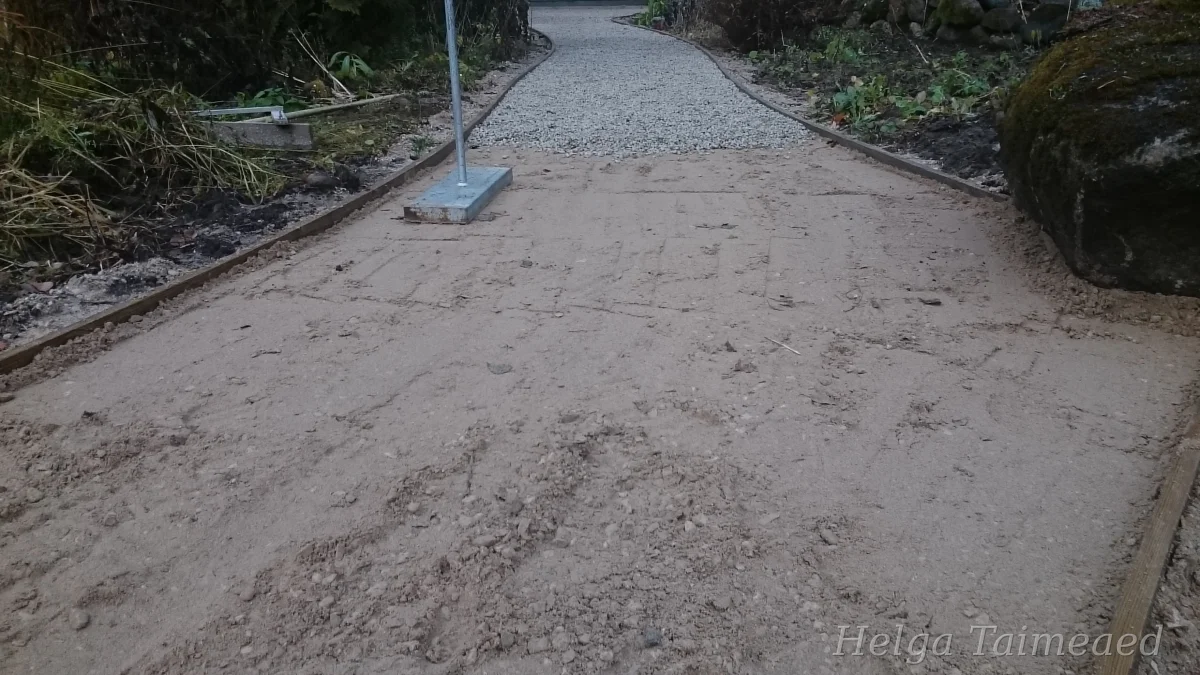
We filled the road depression with crushed gravel in the 0-16 mm fraction. A 10 cm layer of gravel should be placed at a time, compacted, and then filled with a second layer almost to the top edge of the table, giving a 2% slope towards the sides for quick drainage of rainwater. After compaction, there was about 2-3 cm of space left to the top edge of the table for the top cover - crushed gravel/granite in the 4-16 mm fraction for the screens. This layer must also be compacted so that the created slope is maintained. We used a hand tamper for compaction, but you can also use a lighter soil compactor, which can be obtained from tool rentals. You definitely should not use a compactor that is too heavy.
Maintenance
When maintaining a screened driveway, the most important thing is to remove fallen leaves and other organic matter, which would otherwise quickly decompose into soil and create a favorable environment for weed seeds to germinate. An adjustable lawn rake with fine wire tines is very effective for this job. If a very fine decorative covering is not used, a leaf blower can also be used.
Unfortunately, the best helpers against molehills and water vole tunnels are a good cat or, in some families, a dog. To trap them, you need to find the tunnels outside the path.
Anyone with the slightest desire to make changes in their garden with their own hands can tackle this relatively simple and low-budget path with a bold approach.